Fully Read Instructions Before Beginning Installation
Included in your kit:
2 x Side Panels
1 x Center Panel
1 x Pack Rubber Bumpers
6 x Screws M6x30
3 x M6 Double Nuts
Step 1 - Attached Rubber Bumpers
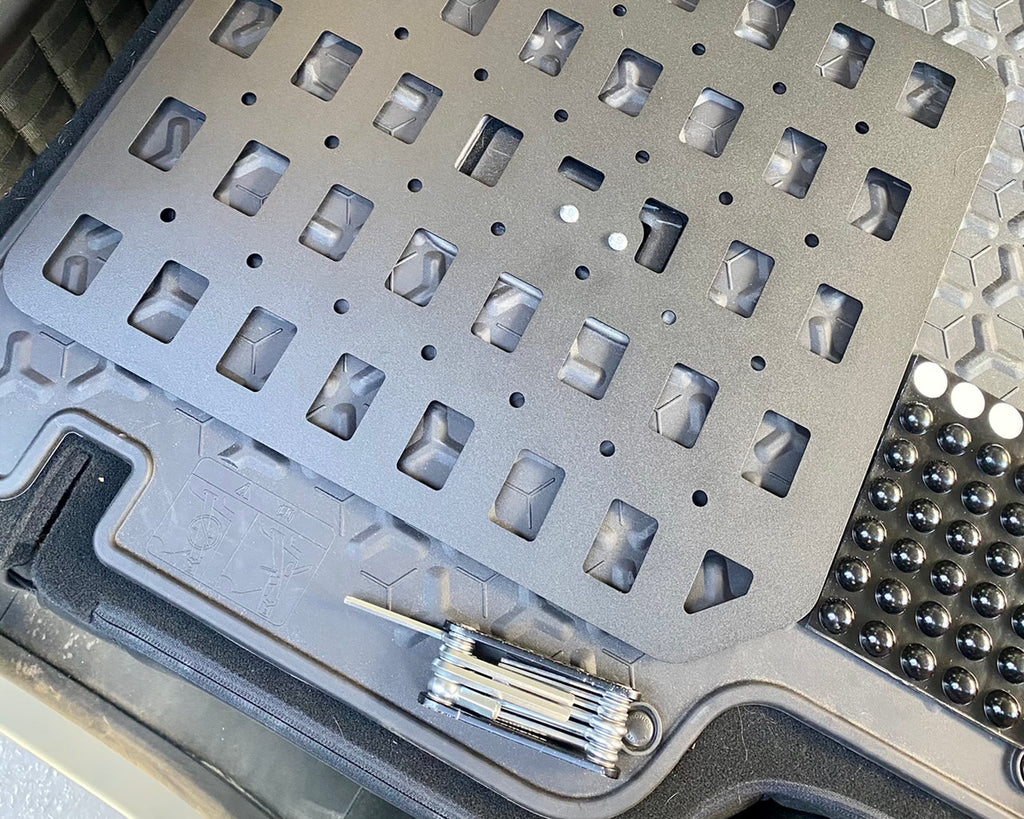
To begin, use the picture below to ensure you have your MOLLE plates oriented correctly. You will have one on each side and one in the middle. Clean the side of the MOLLE panel that faces the back of the seats with a damp cloth or preferably alcohol. Once the surface has been prepped, even distribute the included adhesive rubber bumpers on the backside of each of the panels. See the picture below, be sure to use at least 10 bumpers on each panel. The purpose of these bumpers is the provide some space for accessories to slide behind the MOLLE panels, as well as offer grip to the panels so they don't move around too much.


Step 2 - Insert the M6 Double Nuts
Next we'll insert the included M6 Double Nuts behind the child seat anchors on the back of the rear passenger seats. It may help to fold the seats down flat so the M6 Double Nut stays in place while installing the panels.

Step 3 - Bolt on the Panels
For the final step we'll lay the panels down over the back of the rear passenger seats and thread the included M6 screws through the panels and into the M6 Double Nuts. This will secure the panels to the back of the seats. Be sure to tighten the screws down tight, but not so tight that you damage or bend the panels.


